
Another project from the Dollar Store Crafts Super Secret Stash Challenge .
This time I used some of the yarn that was included in the stash. Then I added yarn I've had sitting around waiting for the right project.
So with out further ado- I present my take on
Wool Dryer Balls

1: Start winding the yarn, I am using acrylic yarn from the envelope, but keep in mind that the outside of the ball will be wool so that it can felt and not become a big tangled wad of yarn. As you wind, keep it really tight- this will stretch out the yarn, keep it on the ball and it hurt my hands a bit by the end. (See how tight the light purple yarn is wrapped- compared to the darker one?)
2: My first finished core. To secure the end of the yarn, locate one of your recent passes around the ball and slip the end of the yarn under that 2-3 times and then pull really hard. Mine tied into a smooth know and I pulled so hard the yarn end snapped off.
3: 2 Cores ready for some wool. Each is about 2 inches in diameter. It doesn't matter what colors or textures are in the core, they will be completely covered with wool.
4: The beginning of the process of wrapping the wool. Can you tell I'm still wrapping very tightly? Now keep wrapping and wrapping and wrapping- this is a good mindless project to watch a good movie or if you're so inclined- Brothers and Sisters.

1: These both have one layer of wool, I just used what I had left from making a couple of soakers.
2: Keep wrapping....
3: And more wrapping.... (that light blue yarn was pretty fine and I used and entire skein on the two balls) these do take a good amount of yarn so the more you can use a cheaper yarn like an acrylic, for your core the less wool you will need)
4: These are complete except for felting. They almost bounce- and they are about the size of tennis balls.
This may look a little strange- but it works!
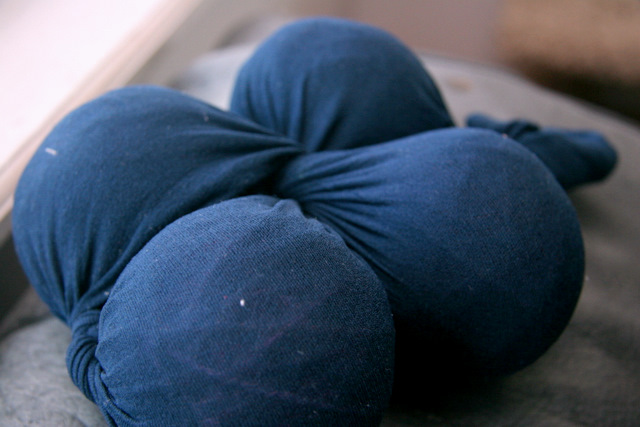
Place the balls in an old nylon or stocking, tying a knot in between each ball. We want them to felt individually instead of one big lump. I didn't want to keep untying knots to check them after each cycle, so they are tied in a twisting series of knots.
After you have secured your stocking, place in the washer with your regular laundry. Hot water and lots of agitation will felt faster. I left mine in while i washed about 5-6 loads of laundry.
And the Reveal:

Can you tell that they are more fuzzy?? It's really hard to catch this on camera. I decided they were ready when I tried to move some of the threads and they were very secure.
I made 4 and plan to use them all at the same time. We have been using the plastic ones we bought in the grocery store, but they break and some people are concerned about the fumes that plastic could release when heated. Since starting to use the dryer balls, we haven't needed fabric softener or sheets which is great for our budget and there is less residue in the washer and dryer.
1 comment:
How interesting! I didn't know you could make dryer balls.
Post a Comment